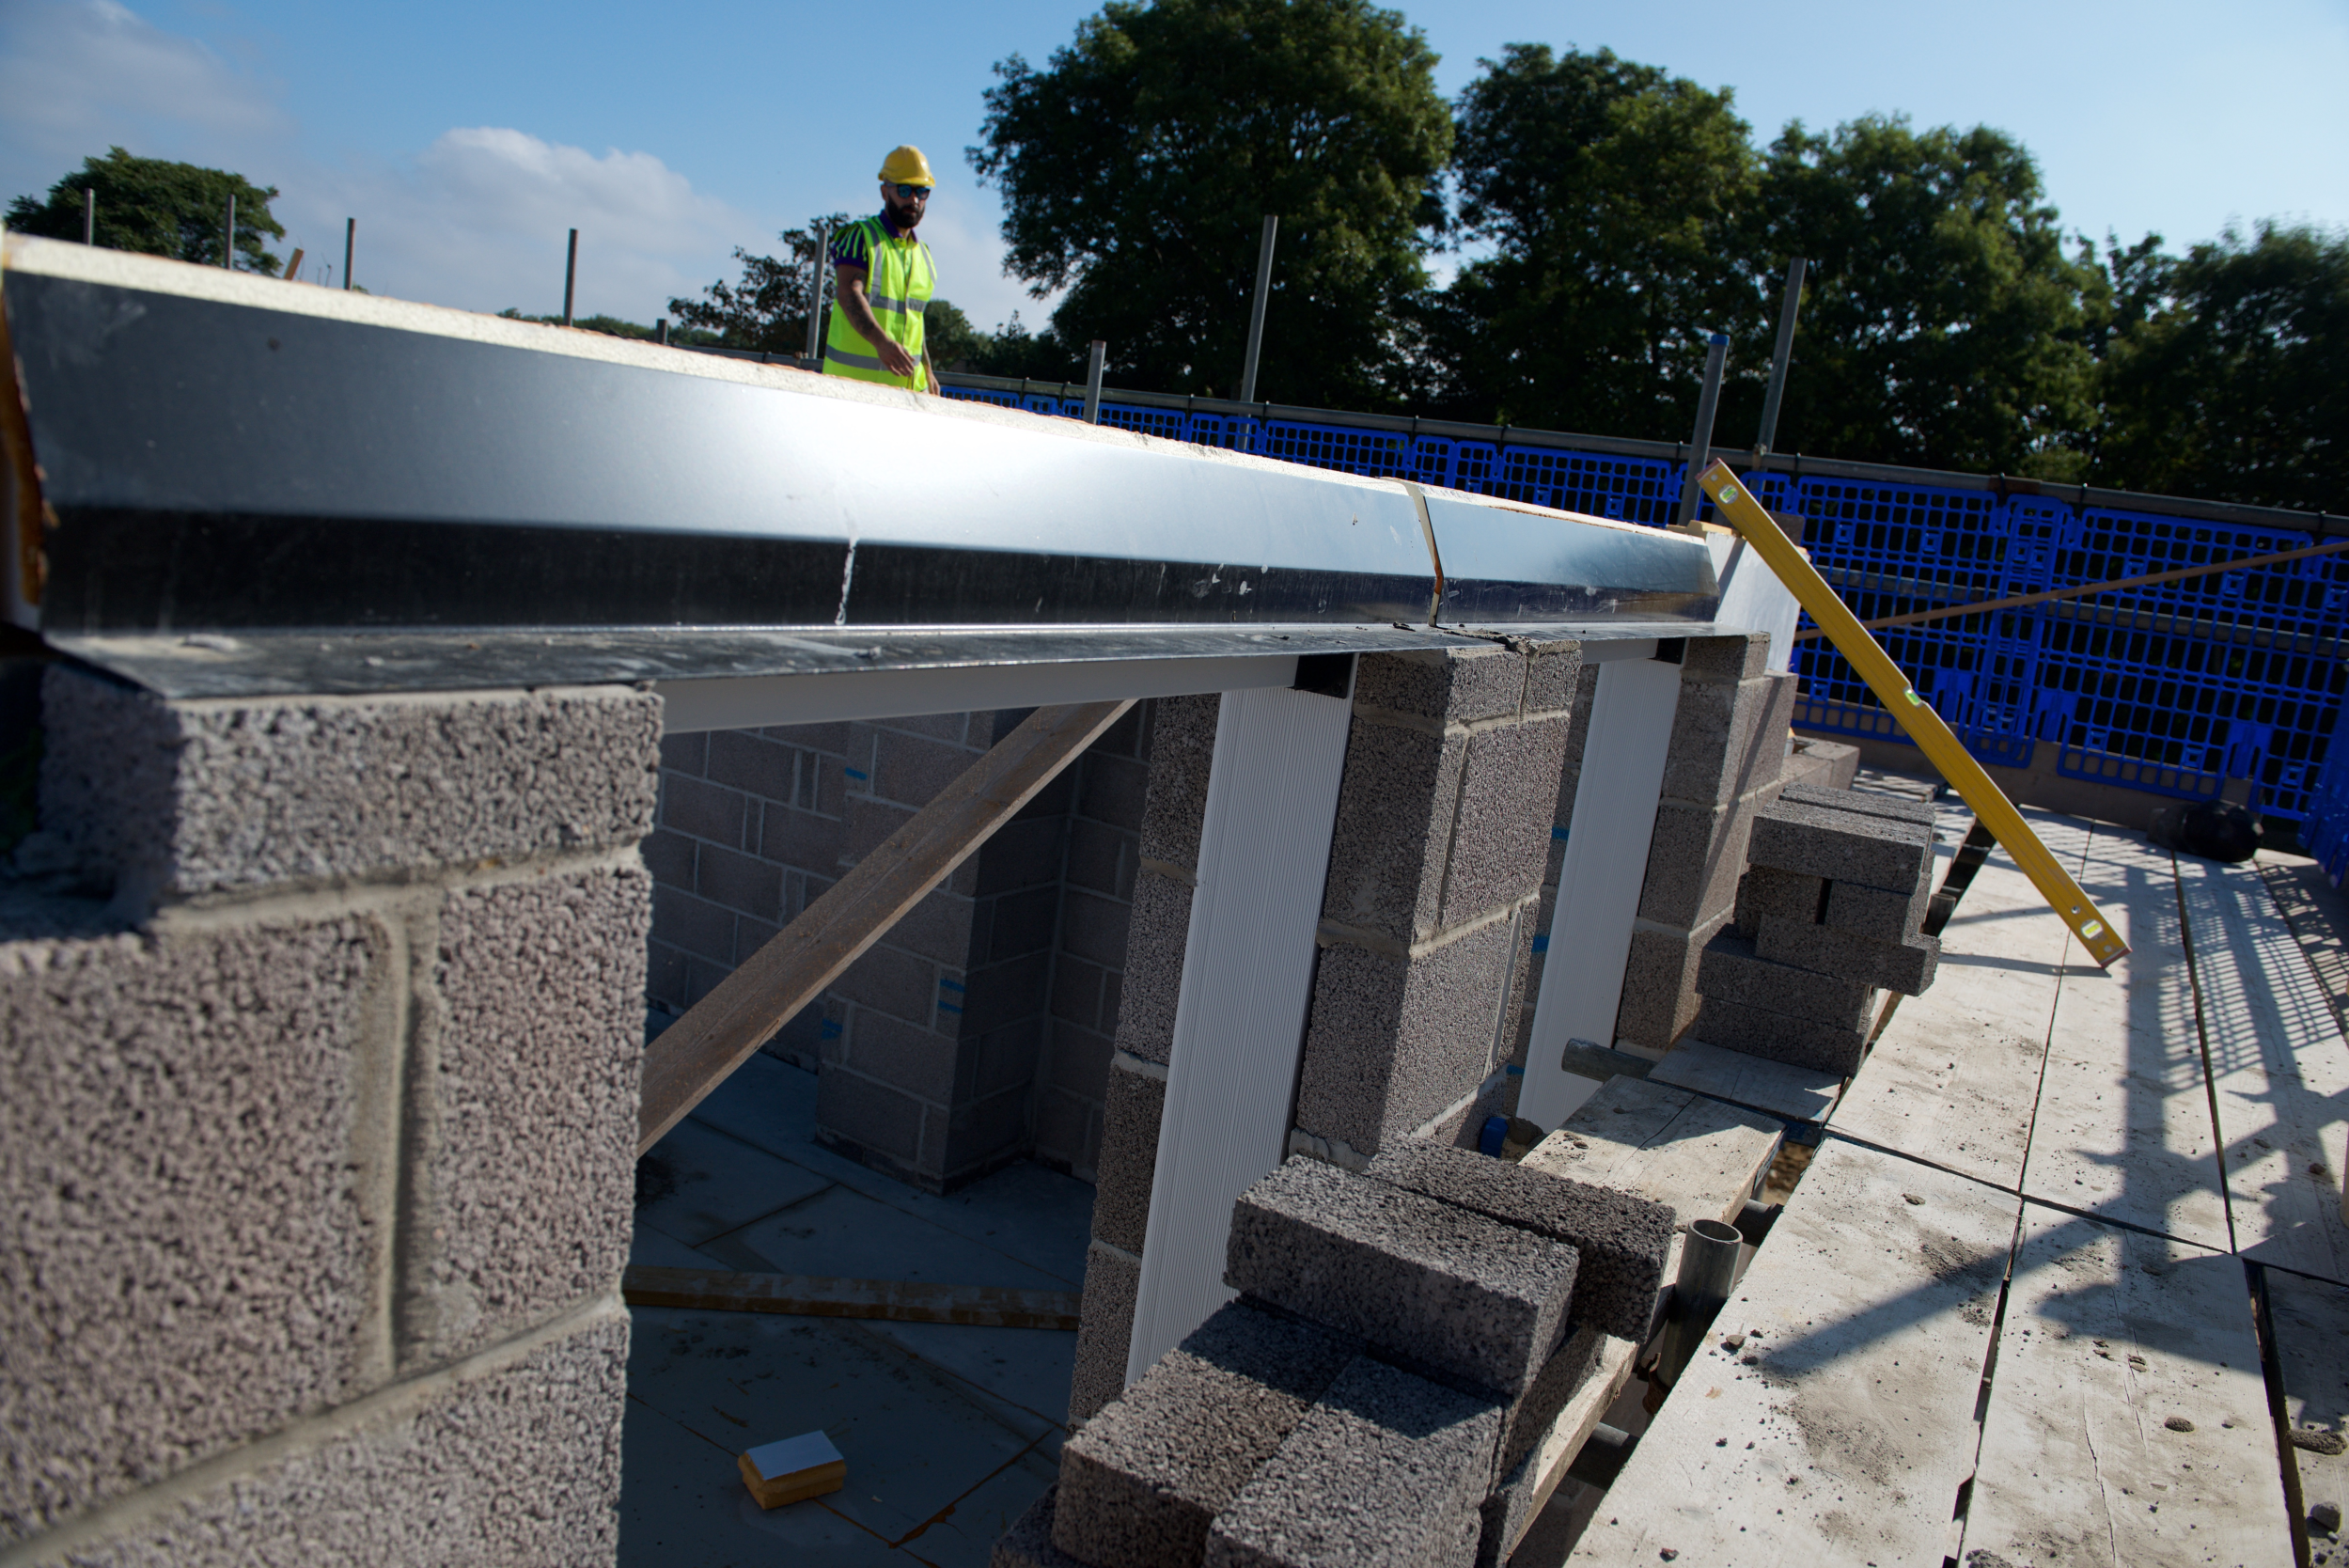
Aiming to help you build better, Catnic manufactures various ranges of steel lintels for sustainable buildings. We introduced the first steel lintel to the construction industry in 1969. And we’ve continued to expand our range with lintels for traditional cavity walls, timber frame, internal and other wall construction types. However, we’re regularly asked how to install a lintel for optimum load support and structural integrity.
We’ve decided to answer that question with a full and comprehensive tutorial on Catnic lintel installation. Read on to find out how to install a lintel in an existing brick wall, with recommendations for safety and effectiveness.
How to install a Catnic lintel in an existing wall
The steps below apply to lintel replacements or insertion into existing structures.
Tools needed

Installing a Catnic lintel can require some specialised tools for it to be done correctly. Altogether, you will need:
- Measuring tape: to measure the new or old lintel, and any cavities
- Spirit level: to make sure the lintel is installed level in all directions
- Chalk: to visually mark out cuts and incisions.
- Angle grinder: to cut into walls
- Chisel: to make small adjustments to cuts
- Vertical supports: to provide support while old lintels are removed
- Mortar: to re-fill holes
- Safety equipment: to keep you and your team safe, including gloves, goggles, and masks
- Props sufficient to support all loads above the opening
Step 1: Choose the right lintel
Your lintel installation begins long before you arrive on site. For example, cavity walls will require lintels specifically designed to be used in that circumstance (see here: Steel lintel solutions for masonry cavity walls). The type of material used to construct the wall will also make a difference.
For more help, consult our guide: Which lintel do I need? Help with choosing lintels
Step 2: Assess the existing lintel condition
To begin with, you should closely examine the condition of the existing lintel (if it’s to be replaced) or the intended area for installation. In particular, you should look out for signs of structural damage, corrosion, and wear (either of the lintel or surrounding masonry). The new lintel should be placed on full bricks or blocks for the best load support.
Of course, you can have confidence in the quality of lintels supplied by Catnic. However, we advise pre-start checks to ensure that your lintels are in the same condition as when they arrived on site. You should place a straight edge or level on the lintel to make sure that it’s still in the ideal shape. Damaged lintels should not be used.
You should also ensure that:
- The right type of Catnic lintel has been chosen for the application
- The load-bearing capacity of the lintel will be sufficient
- The lintel has sufficient length (providing 150mm at each bearing ).
Refer to our downloads page to find documentation outlining all the specifications of our products to ensure you’ve made the right choice.
Step 3: Prepare the site

Lintel installation should be carried out in a clutter-free zone, with any obstacles (e.g. masonry, old lintels) having been removed. As mentioned, it will also be important to position the lintels on full rather than cut bricks or blocks for the required support.
Concrete padstones may have to be fitted and other mitigating action taken for the support of particularly heavy loads. It’s also best to get the go-ahead of a structural engineer if lintels are to be installed across wide openings or for the support of large roof structures.
Step 3a: (Optional) Remove the existing lintel
During lintel replacement, you should first ensure the old lintel is safely removed before installing the new one.
To do this, you must support the loads above the lintel by the props, in order to prevent structural problems, then remove any brickwork obscuring the lintel to provide easy access.
Then, carefully remove the old lintel and dispose of any unneeded, left over materials.
Step 4: Install the lintel
Make sure to provide proper alignment with the masonry opening, remembering to allow at least 150 mm bearing at each end. Care must also be taken in placing the lintel, ensuring that it is completely level. A separate damp-proof course (DPC) may be required in severe exposure conditions and depending on the location of the opening.
Do not overload the lintel during installation.
Where fair-faced external masonry is supported by lintels:
- Weep holes should be provided at 450 mm (maximum) centres with at least two weep holes per opening
- Cavity trays or lintels should have stop-ends.
Largely the same process should be followed if installing Catnic’s thermally broken lintels. However, separate DPCs must be fitted in all zones.
Avoid the following mistakes:
- Applying loads that are greater than the original specification
- Applying point loads directly to the lintel flanges
- Failing to ensure that the masonry above the lintel is properly supported during installation
- Not following the manufacturer’s instructions specific to the installation of particular lintel types.
Step 5: Check alignment and rebuilding the wall
After positioning the lintel you should use a spirit level to ensure that it’s perfectly horizontal and aligned. Any adjustments should be made before the mortar sets for the equal distribution of loads across the wall. The mortar should also be fully cured before you continue with any further construction.
You can start to replace the masonry once the fitted lintel has been confirmed as level and secure. Again, you should take care in the repositioning of the brick or blockwork, with the mortar fully set before applying a load to the lintel. You should keep an eye out for any movement in the wall or lintel during this process.
There should be a final visual check following the installation of the lintel, ensuring that it is secure and that there aren’t any signs of misalignment. If you’re confident that no further work is required then you can remove any temporary props or supports. Just remember to carry out regular follow-up inspections for the identification of any lintel damage.
Count on Catnic for your lintel needs
Safe installation will be assured provided you follow the steps covered in this tutorial. That said, we strongly advise having lintel installation jobs carried out by professionals. A structural surveyor will be able to carry out an initial assessment of any wall openings, with a qualified builder ensuring safe lintel fitting.
For help planning your lintel installation, please contact Catnic’s Technical Department on 02920 337900.
More
-
![Coastal property in middle east housing complex, with external render finish]()
- Plaster Bead & Mesh
- Guide
A Specifier’s Guide to Choosing the Right Plasterers’ Beads for Hot, Humid and Coastal Environments
-
![]()
- Plaster Bead & Mesh
- Guide
How to Fix an Angle Bead to Plasterboard


