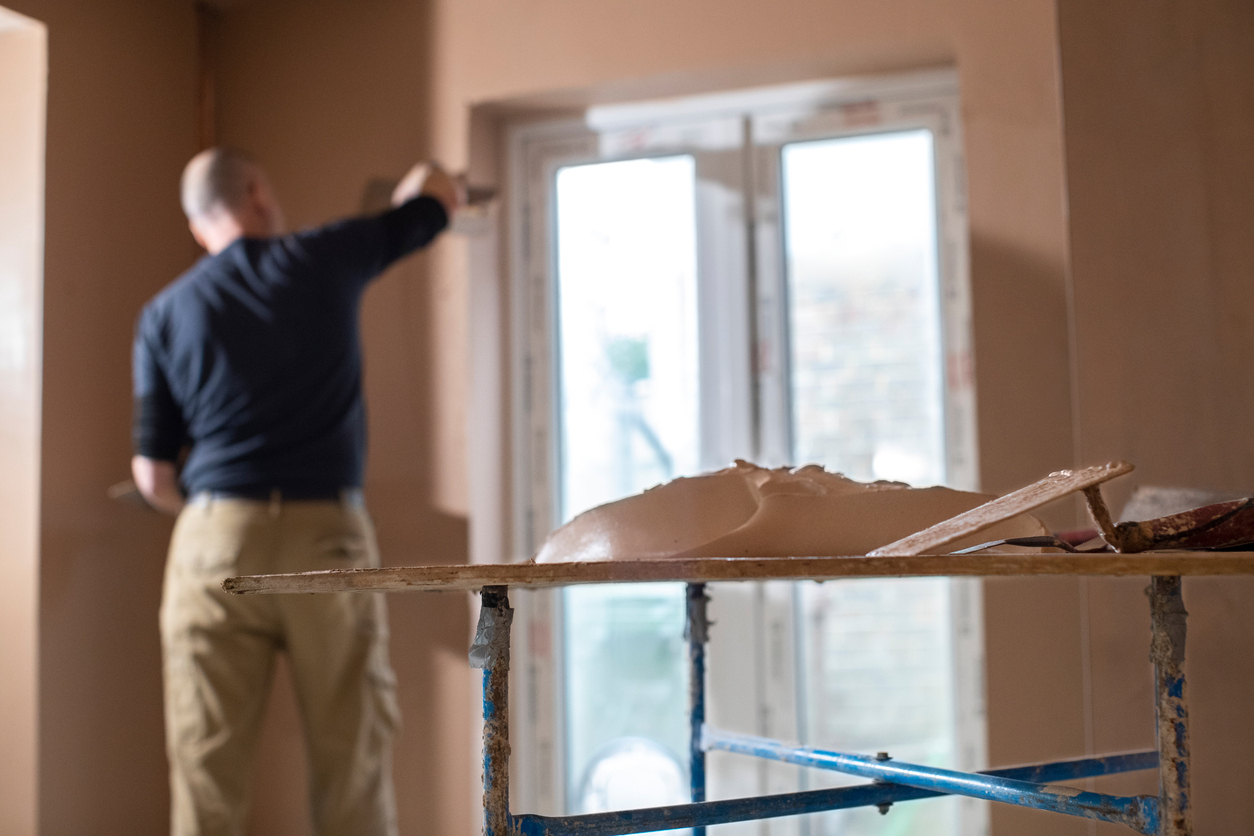
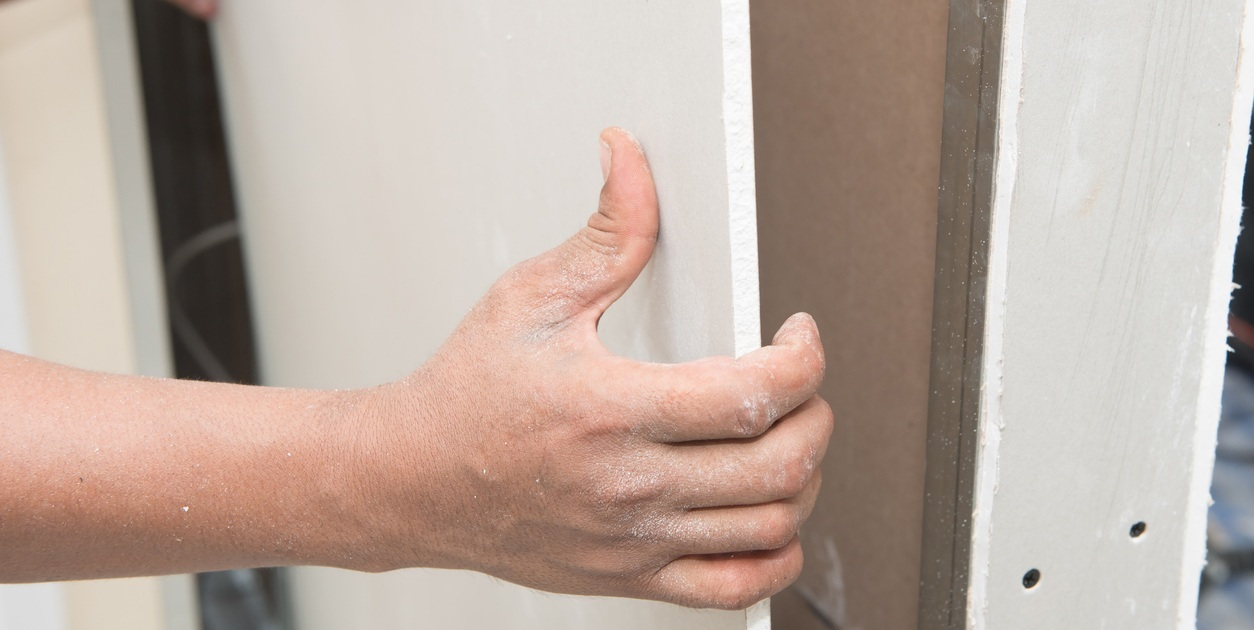
Plaster beads play a vital role in achieving a professional finish for plastered surfaces, providing clean edges and reinforcing durability. To get the best results, you’ll need to pay particular attention to the preparation phase, which includes plaster stop bead installation.
Follow this step-by-step guide to correctly install plaster beads and achieve a flawless finish.
Step 1: Choosing the right plaster beads
Selecting the appropriate bead type depends on your project. Common options include:
- Angle beads – Ideal for strengthening and defining corners.
- Stop beads – Used for creating a clean edge where plastering stops.
- Movement beads – Allow for slight expansion and contraction to prevent cracking.
Ensure your chosen beads are corrosion-resistant and suitable for the plastering method you’ll use.
For more help on picking the right beads, see our guide: Selecting the correct plaster bead for your project
Step 2: Measuring and cutting
Before installation, measure the required lengths accurately. Then, use tin snips or a fine-toothed hacksaw to cut the beads to size, ensuring a precise fit without gaps or excess material.
Step 3: Fixing plaster beads in place
You can secure plaster beads using one of the following methods:
- Dot and dab method – Apply small dabs of bonding compound at regular intervals along the bead and press it into position.
- Mechanical fixing – Use galvanised nails or staples to attach beads to the substrate for added security.
- Adhesive fixing – Suitable for certain applications, using a strong adhesive to hold beads in place.
While fixing the bead into place, be sure to check alignment carefully with a spirit level and adjust as needed. Longer runs may require two people to make adjustments at either end of the bead.
Step 4: Applying plaster
Once the beads are securely in place:
- Apply plaster evenly, ensuring full coverage over the bead’s edges.
- Smooth the surface using a trowel, blending it seamlessly into the surrounding area.
- Allow the plaster to dry according to manufacturer instructions before further finishing.
Step 5: Finishing touches
Once the plaster has dried:
- Sand down any rough edges for a smooth transition.
- Paint or seal the surface, as required, for added protection and aesthetic appeal.
Common installation mistakes to avoid
To achieve a flawless finish, steer clear of these common errors:
- Incorrect bead selection for the application.
- Uneven alignment, leading to distorted edges.
- Insufficient plaster coverage, reducing bead effectiveness.
- Failing to allow proper drying time before additional finishing.
Why choose Catnic plaster beads?
Catnic offers premium-quality plaster beads designed for durability, precision, and easy installation. Made from high-grade materials, our beads ensure smooth finishes and long-lasting results.
For more expert guidance and product recommendations, explore Catnic’s full range of plaster beads today.
More
-
![Coastal property in middle east housing complex, with external render finish]()
- Plaster Bead & Mesh
- Guide
A Specifier’s Guide to Choosing the Right Plasterers’ Beads for Hot, Humid and Coastal Environments
-
![]()
- Plaster Bead & Mesh
- Guide
How to Fix an Angle Bead to Plasterboard


