⏱️ ~ 3 min read
Angle beads (also called corner beads) are used to reinforce and define external corners on plasterboard walls. They provide a sharp finish, protect vulnerable edges from knocks, and help prevent cracking.
Tip: Use galvanised steel or PVCu angle beads for internal and dry-lining applications, and stainless steel or PVCu for external or high‑moisture areas. Do not use stainless steel beads with gypsum plasters.
Types of Angle Beads
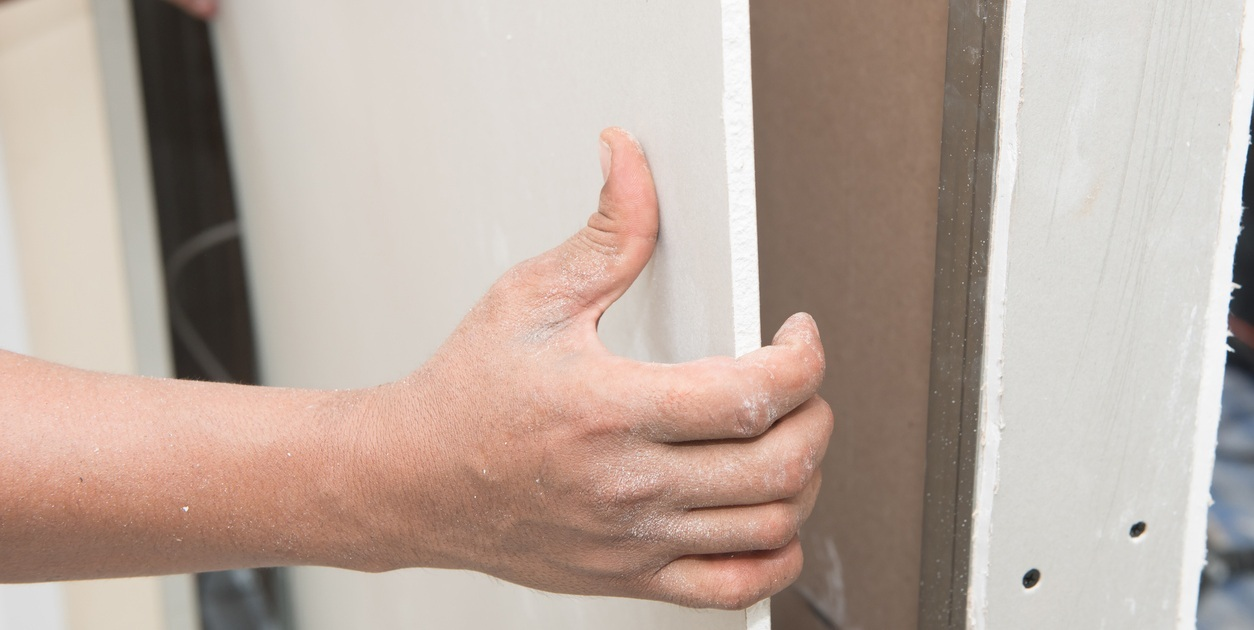
Angle beads are available in different profiles and materials to suit various plaster thicknesses and applications:
- Thin coat angle beads — for skim coats of 3–6mm.
- Standard angle beads — for thicker, wet plaster coatings.
- PVCu angle beads — lightweight, corrosion‑resistant, and suitable for damp, harsh environments.
- Stainless steel angle beads — recommended for external render or where durability is critical. Not suitable for gypsum plasters.
Materials and Tools
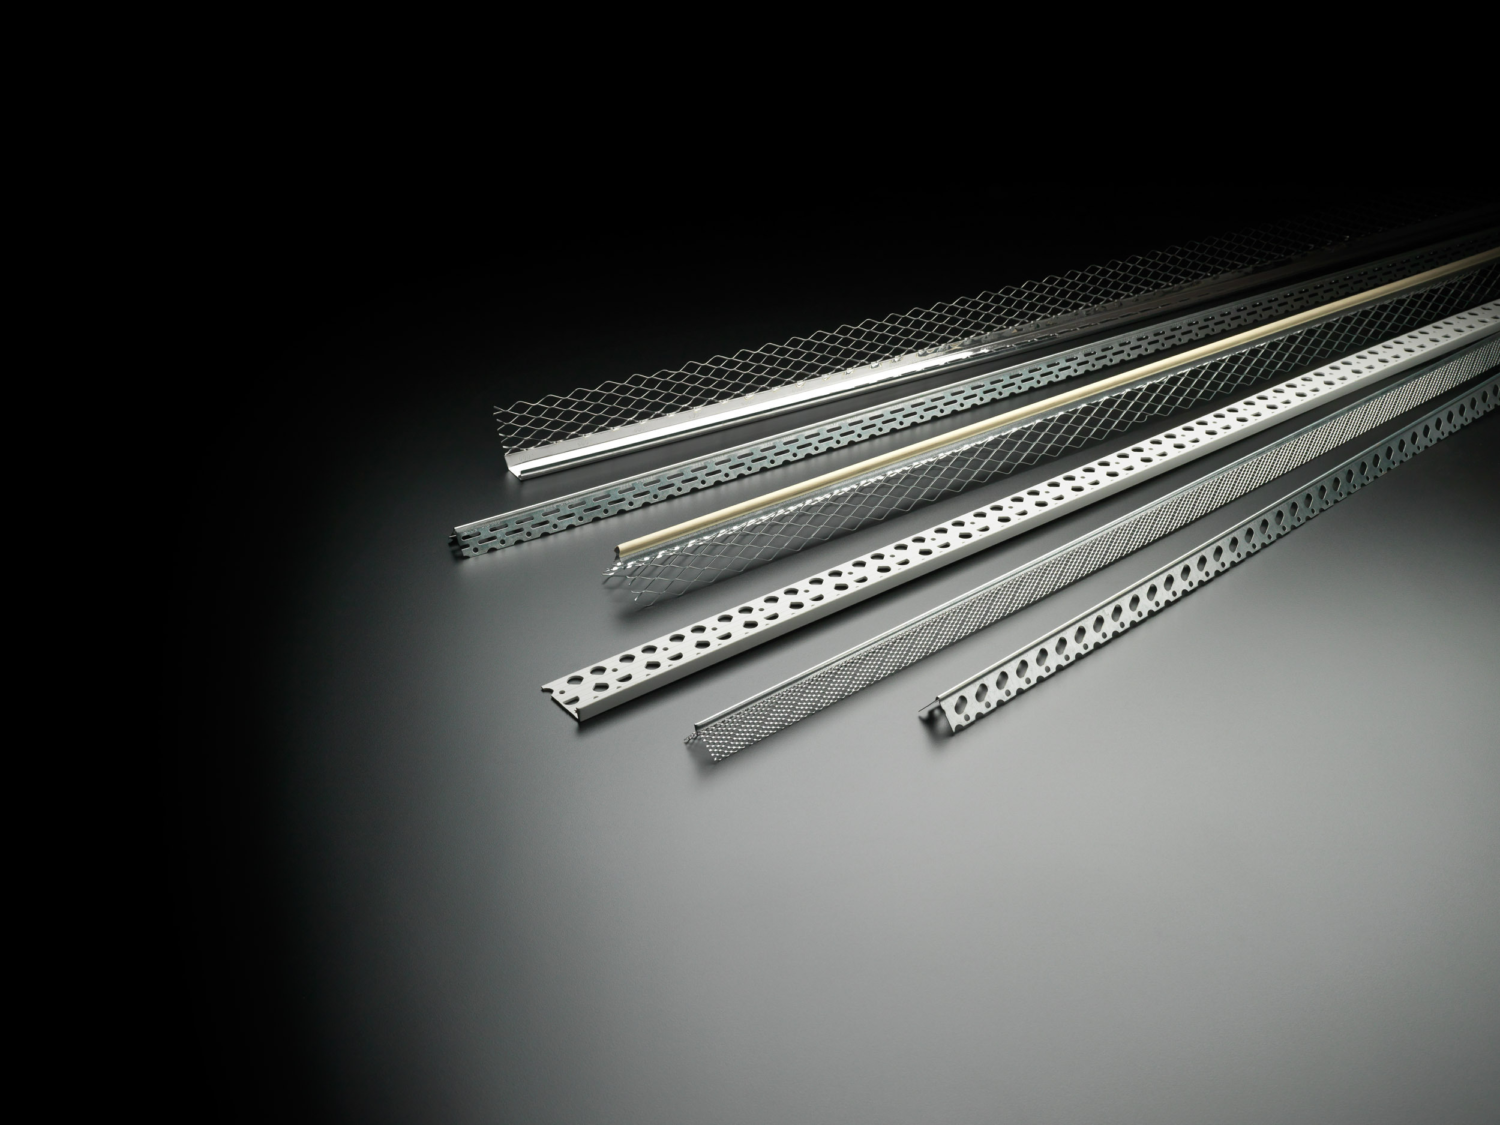
- Angle bead (galvanised, stainless, or PVCu)
- Tin snips
- Fine-tooth saw
- Spirit level
- Clout nails, staples, or drywall screws
- Adhesive/plaster dabs (optional)
- Trowel
Step‑by‑Step Installation
- Cut to length: measure the corner and cut the bead with tin snips (wings) and fine-toothed saw (nose).
- Trial fit: place the bead so the spine sits exactly on the corner apex.
- Align: check with a spirit level to ensure the bead is straight and plumb.
- Fix: secure at regular centres (max 600mm) using nails, staples, screws, or by pressing into plaster dabs.
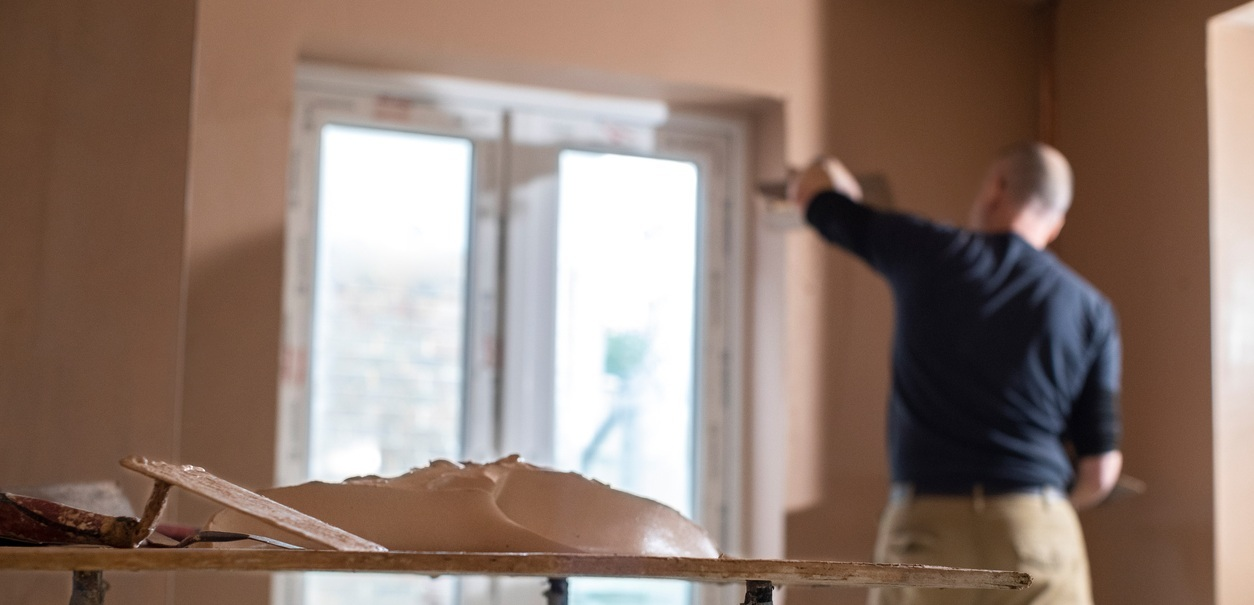
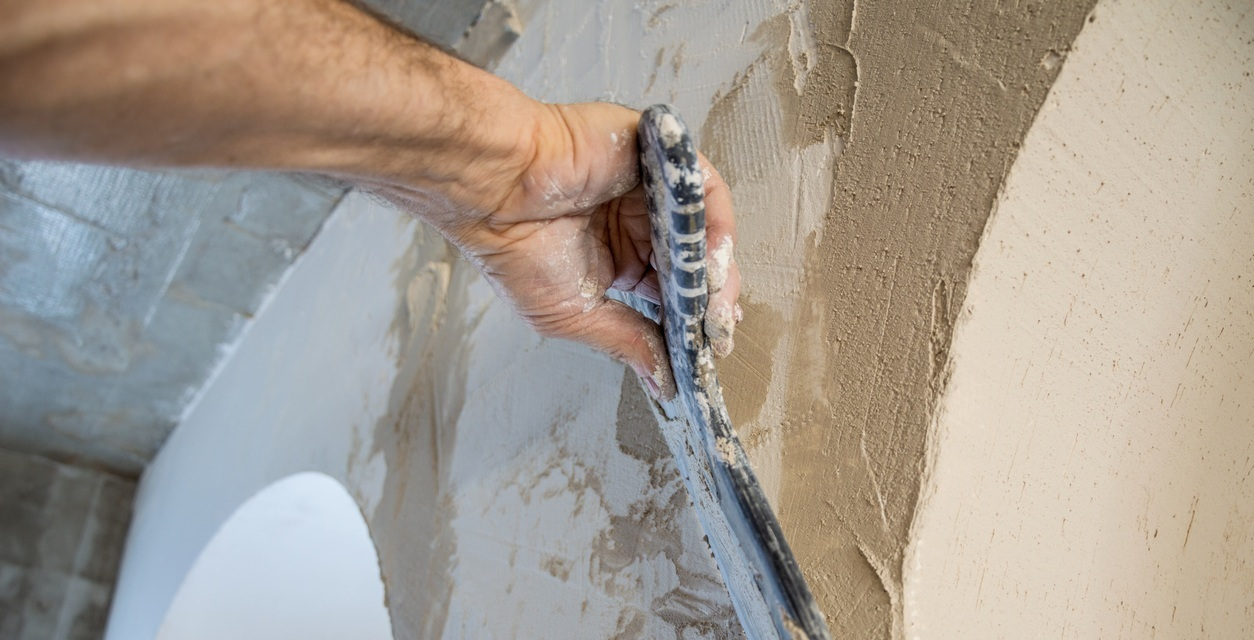
- Plaster: feather the coat(s) into the bead wings, leaving the metal or PVC edge exposed.
- Finish: tool off for a crisp corner, allow to dry, and protect from knocks during curing.
Practical Tips
- Countersink screws slightly so they don’t protrude through the skim.
- Protect corners while drying to prevent chips or cracks.
- Don’t bury the bead under excessive plaster thickness — the edge should remain visible for a clean finish.
- For more guidance on bead selection, see our full guide: Selecting the Correct Plaster Bead for Your Project.
More
-
![Coastal property in middle east housing complex, with external render finish]()
- Plaster Bead & Mesh
- Guide
A Specifier’s Guide to Choosing the Right Plasterers’ Beads for Hot, Humid and Coastal Environments
-
![4 reason to specify a Catnic thermally broken lintels]()
- Lintels
- Guide
The Game‑Changing Benefits of Thermally Broken Lintels
