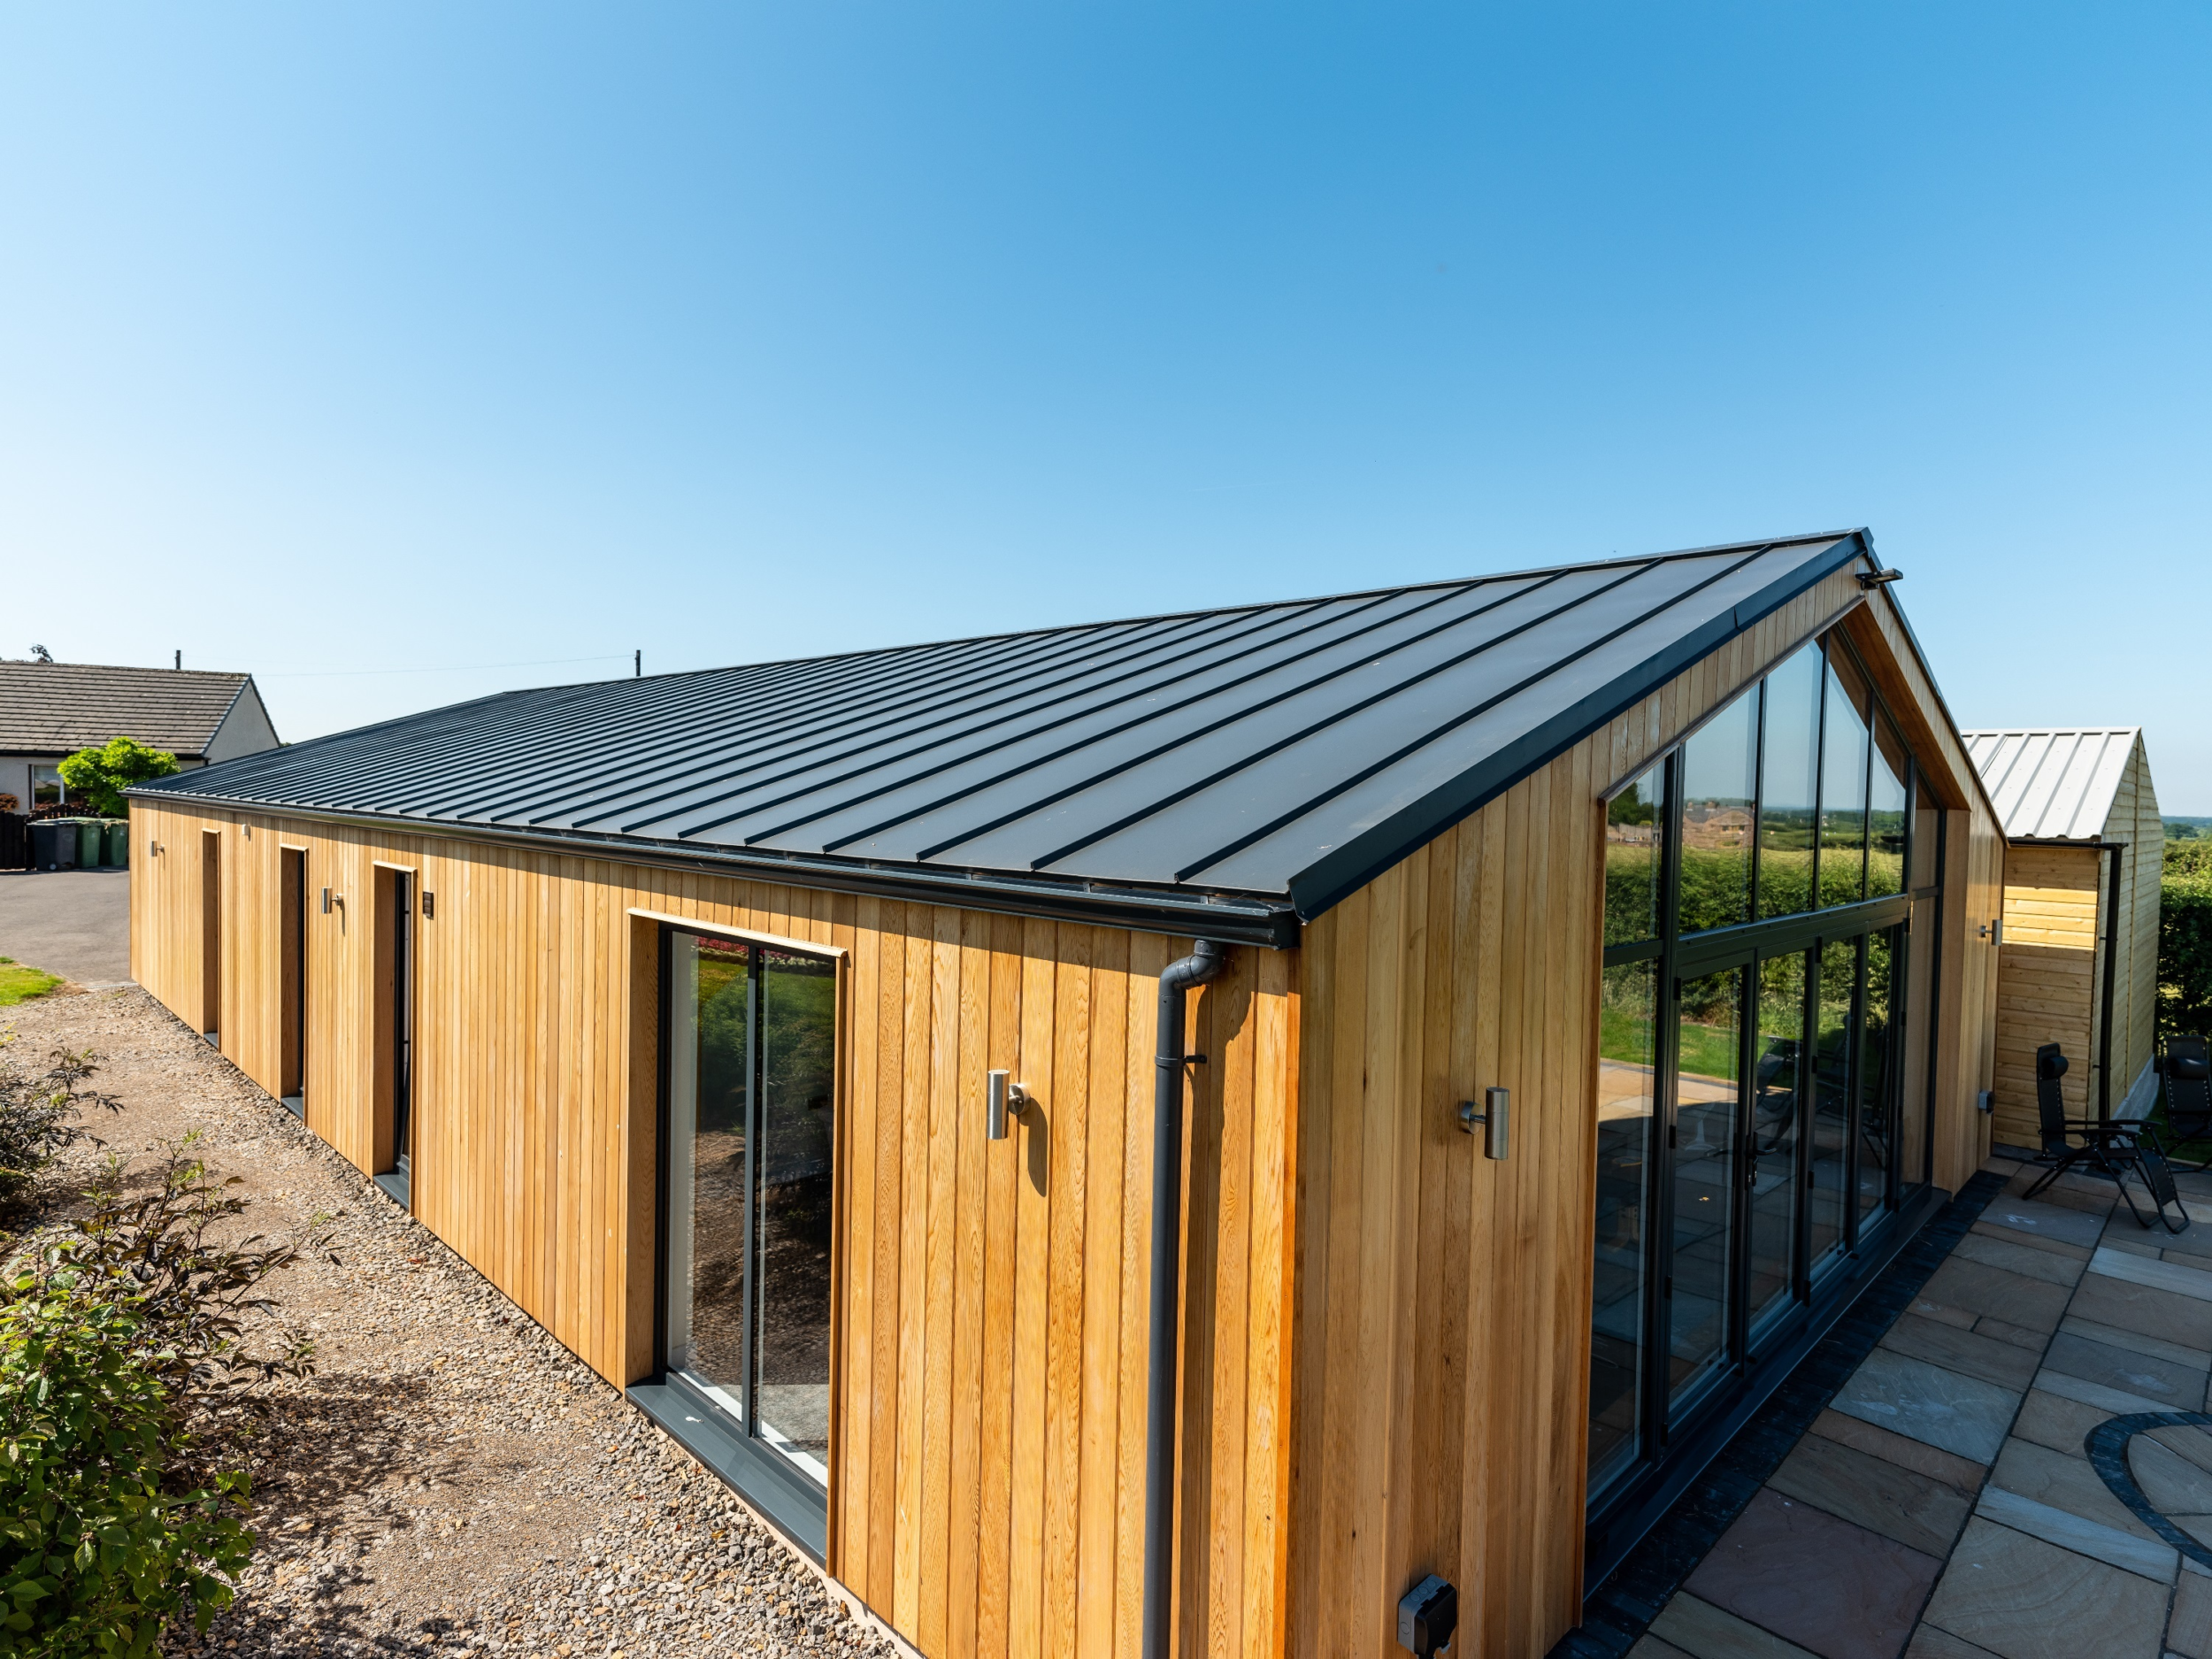
Catnic Urban roofing system offers a cost-effective alternative to traditional copper or zinc; and roofing contractors have been delighted by how easy it is to install.
Here, we take a look at the ten simple steps to a stunning, high performing roof:
Step One:
To get started, the complete roof expanse needs to have been fitted with 18mm WBP Ply or OSB3 board and covered with the recommended breather membrane.
Step Two:
Cut the eave backing plates to suit the length of the roof and position them across the roof allowing a gap of 50mm minimum between the leading edge of the eave plate and the fascia – ensure that the eave drip will fall into the gutter once fitted. Fit this down at 200mm intervals.
Step Three:
Position the starter verge backing plate over the eave backing plate, ensuring to align it squarely with the leading edge of the eave plate, with a gap of 25mm maintained between the outer face of the verge backing plate and fascia. Once again, fix this down at 200mm.
Step Four:
Fit the mono ridge backing plate on top of and squarely to the starter verge backing plate –again fix down at 200mm.
Step Five:
Begin with the first Catnic Urban panel; this can be easily identified as being one of only two panels featuring a 25mm upturned outer edge. Ensure that the notch overhangs the eave plate by 25mm and the upturned edge is positioned level with the outside edge of the verge backing plate. Each panel features an integrated slotted nail fixing strip. Use this to secure the panel by installing the supplied nails at appropriate 180mm intervals along its length.
Install the second panel by positioning the female seam over the male seam. Using the rubber mallet work your way up the panel to clip the seam together. The panel should then be fixed down again at appropriate 180mm intervals through the fixing strip along its length.
Repeat this process for the remainder of the roof until you are ready to fit the end panel, which then gets clipped together along the seam as per the previous procedure. The 25mm upturned outside edge can now be aligned with the outside edge of the end verge backing plate.
Step Six:
Using the rubber mallet, form the 25mm overhang section at the front of each panel past a 90-degree angle around the eave plate. The notch can then be fully formed using the eaves closer.
Step Seven:
Clip the colour matched verge trims over the top of the upturned outside edge of the starter or edge panel, as well as the lower edge hooked underneath the verge backing plate. This then gets formed back against the verge backing plate at the lower edge using the stubai pliers. Install two colour matched rivets at the eave and ridge end of the verge trim.
Step Eight:
Take your notch or ventilated Z bar and measure the distance between the starter panel upturn and the first seam and cut the end off the Z bar to suit. Apply two continuous beads of the supplied sealant along the Z bar length and fit this at 145mm offset from and parallel to the ridge backing plate. Ensure four fixings are equally spaced across each panel.
Step Nine:
Cut the mono ridge flashing to suit the correct length of the roof. Position its open welt onto the Z bar leading edge before pushing down to locate onto the bottom of the ridge backing plate. Using stubai pliers crimp along the bottom edge of the ridge flashing to secure it to the backing plate, and then install a colour matched rivet through the ridge flashing and Z bar at intervals of every other panel.
Step Ten:
Install the prefabricated colour matched end caps where the verge flashing meets the ridge and secure in position using two colour matched rivets.
It is still important to remember that despite how easy the installation of any new system can be, it is always advisable to take advantage of any practical training opportunities that are available, ensuring you have had detailed, best practice advice first hand. Catnic offers installation training to those wishing to explore the full benefits of the system.
For more information on Catnic Urban and the installation training offered, head to Urban Installation training course
More
-
![Catnic standard duty timber frame lintel for 70-85mm cavity wall shown in situ]()
- Lintels
- Guide
Steel lintels for timber framed walls
-
![Catnic standard duty cavity wall lintel CGE90/100 for closed eaves shown in situ]()
- Lintels
- Guide
Closed eaves lintels


